Your Private CI/CD using self-hosted GitLab and Docker

Leverage Gitlab and Docker and use them as a CI/CD infrastructure
It's very often that I need a deployment environment while developing personal projects. I have tried many alternatives to test, package, and deploy my solutions when developing.
If you don't yet have a CI/CD environment, you should consider obtaining one. I have chosen the community version of GitLab for my Git and CI/CD needs. The self-hosted GitLab version is virtually limitless. I am developing both microservices and monoliths, so being flexible with CI/CD is essential for me.
In this post, we are going to guide ourselves through the initial setup of GitLab using Docker. We will be using Docker inside a VPS for hosting our GitLab instance, spawning GitLab runners at will when building, and creating Docker images. With the following setup, we will be able to perform builds using any technology stack, be it Go-based, NodeJS, Java, etc.
Choice of hardware
To choose our hardware stack, we need to see what we are going to deploy on this machine. Here is a non-exhaustive list of what we are going to need to perform our setup:
- Docker. In Linux, it doesn’t sit upon any virtualization, so it’s going to use the host system’s resources.
- GitLab CE running and using Docker — we need 4–6GB RAM for this alone
- GitLab runners. 40–100MB of additional ram for each runner. If you are building something heavy, you may need more.
In terms of disk, that’s another field where we need to feel comfortable. GitLab uses too much drive, and for a good reason — apart from your CI/CD, that’s also our Git repo, and build cache. All we need is Disk and RAM — we can compromise on the CPU since the build time is not mission-critical during CI/CD.
Setting Up GitLab in Docker
The steps below describe the following process:
- Install Docker
- Install GitLab inside a docker container
- Install Nginx to the host machine
- Serve GitLab through HTTPS using the host's nginx, using
certbot - Add some gitlab runners using docker and connect them with our GitLab installation
A prerequisite for following the steps in this post is to have a fully functional Docker installation. There is a comprehensive walkthrough by Digital Ocean, which applies to any machine with Ubuntu LTS 18.xx installed.
Installing GitLab as a Docker container
After setting up our Docker installation, the first step towards setting our environment is to run the image of GitLab, using a persistent store inside our host machine. So GitLab will run inside a docker container, but it will use the host machine's disk to save data and load configurations.
sudo docker run --detach \
  --hostname gitlab.example.com \
  --publish 127.0.0.1:4443:443 --publish 127.0.0.1:4000:80 \
  --name gitlab \
  --restart always \
  --volume /srv/gitlab/config:/etc/gitlab \
  --volume /srv/gitlab/logs:/var/log/gitlab \
  --volume /srv/gitlab/data:/var/opt/gitlab \
  gitlab/gitlab-ce:latest
So what this means is:
Set the hostname of the installation to gitlab.example.com
Expose the ports 443, 80, 22, and map them to the same ports to the host machine.
Mount the volumes of the container to the host machine
- /srv/gitlab/config will hold GitLab's configuration
- /srv/gitlab/logs will hold the GitLab's logs
- /srv/gitlab/data will hold the actual git repo's data.
Note that those folders are mapped to the host machine, which means that these locations will remain the same across container restarts and GitLab upgrades. If we run an upgraded version of GitLab using a container and map the same folders to the same host locations, we will be able to re-use your old data with your new GitLab version.
It also means that when reading the documentation of GitLab, one needs to have a mental map of the locations of the configurations. For example, in the current installation, we have mapped the /etc/gitlab folder to srv/gitlab/config while the host machine. Therefore, when the GitLab configuration mentions: You can also just edit /etc/gitlab/gitlab.rb... it translates to: You can also just edit /srv/gitlab/config/gitlab.rb in your host machine
because the documentation takes into account a GitLab installation as if it was installed to the host machine. In this case, however, it's installed inside a docker container.
Did you notice that strange port binding of the type 127.0.0.1:4443:443 --publish 127.0.0.1:4000:80 ? Well, that means that i/o will be bound only to localhost. Ports 4443 and 4000 of the container will never be exposed to the outside world. We will be using an Nginx reverse-proxy installed on the same machine to access those URLs.
We want to expose the GitLab only through HTTPS, in our custom domain name. Let’s name this domain mydomain.com. For this step to complete, we need to visit our domain registrar's website and visit its control panel, which allows setting up the name servers. The setup methodology is different across domain name registrars, but the setup principle remains the same. In this control panel, let's set the subdomain name (in this case, git) to the IP of our server. For the sake of this post, let's imagine that your server's IP is 55.55.55.55.
Our nameserver setup should now look like this (more entries may be present, but they are irrelevant to this scenario):
| Type | Name | Value | TTL |
|---|---|---|---|
| A | git | 55.55.55.55 | 600 |
| A | @ | 55.55.55.55 | 600 |
Serving through Nginx and https
There are two ways to set up Nginx: using a docker container, installing to the host machine and map the ports exposed by your docker containers towards the outside world.
Personally, I prefer the latter, as I like to keep things clean. I also prefer to keep my certbot certificates to a centralized location to my host machine for future uses, like testing my docker images (have the host as a staging server).
To follow this approach, we first need to install Nginx
apt install nginxAnd then, install certbot.
sudo apt-get updatesudo apt-get install software-properties-commonsudo add-apt-repository universesudo add-apt-repository ppa:certbot/certbotsudo apt-get updateAnd then run certbot.
sudo certbot --nginxIf you succeeded, when visiting https://mydomain.com you will see a web page. It’s not a test drive
Then, set up your server inside the Nginx configuration. Certbot has already created a configuration for you inside /etc/nginx/sites-enabled. Alter the configuration for the host and the port that it points to like this:
server {
	server_name git.domain.com;
	client_max_body_size 256M;

	location / {
		proxy_pass http://localhost:4000;

		proxy_read_timeout 3600s;
		proxy_http_version 1.1;
		# Websocket connection
		proxy_set_header Upgrade $http_upgrade;
		proxy_set_header Connection $connection_upgrade;
	}

	listen [::]:443;

	listen 443 ssl; # managed by Certbot
    ssl_certificate /etc/letsencrypt/live/git.domain.com/fullchain.pem; # managed by Certbot
    ssl_certificate_key /etc/letsencrypt/live/git.domain.com/privkey.pem; # managed by Certbot
	include /etc/letsencrypt/options-ssl-nginx.conf; # managed by Certbot
	ssl_dhparam /etc/letsencrypt/ssl-dhparams.pem; # managed by Certbot

}
At first, you need to set up the subdomain and map it to a port. When the domain is “git.example.com”, Nginx will divert the traffic towards port 4000 on this machine — which in this example corresponds to our GitLab installation inside docker.
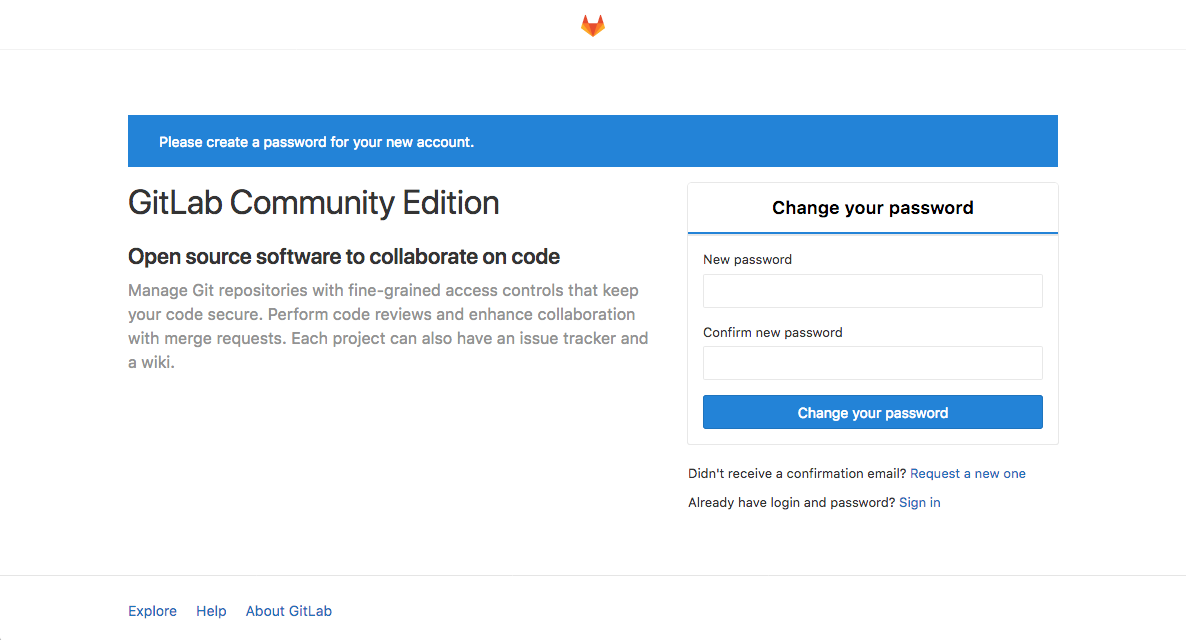
When we restart the Nginx installation using service nginx restart, we are ready to visit our domain at https://git.mydomain.com/. If everything was done correctly, we will see the following result - a page which will allow you to set your new password for the user root:
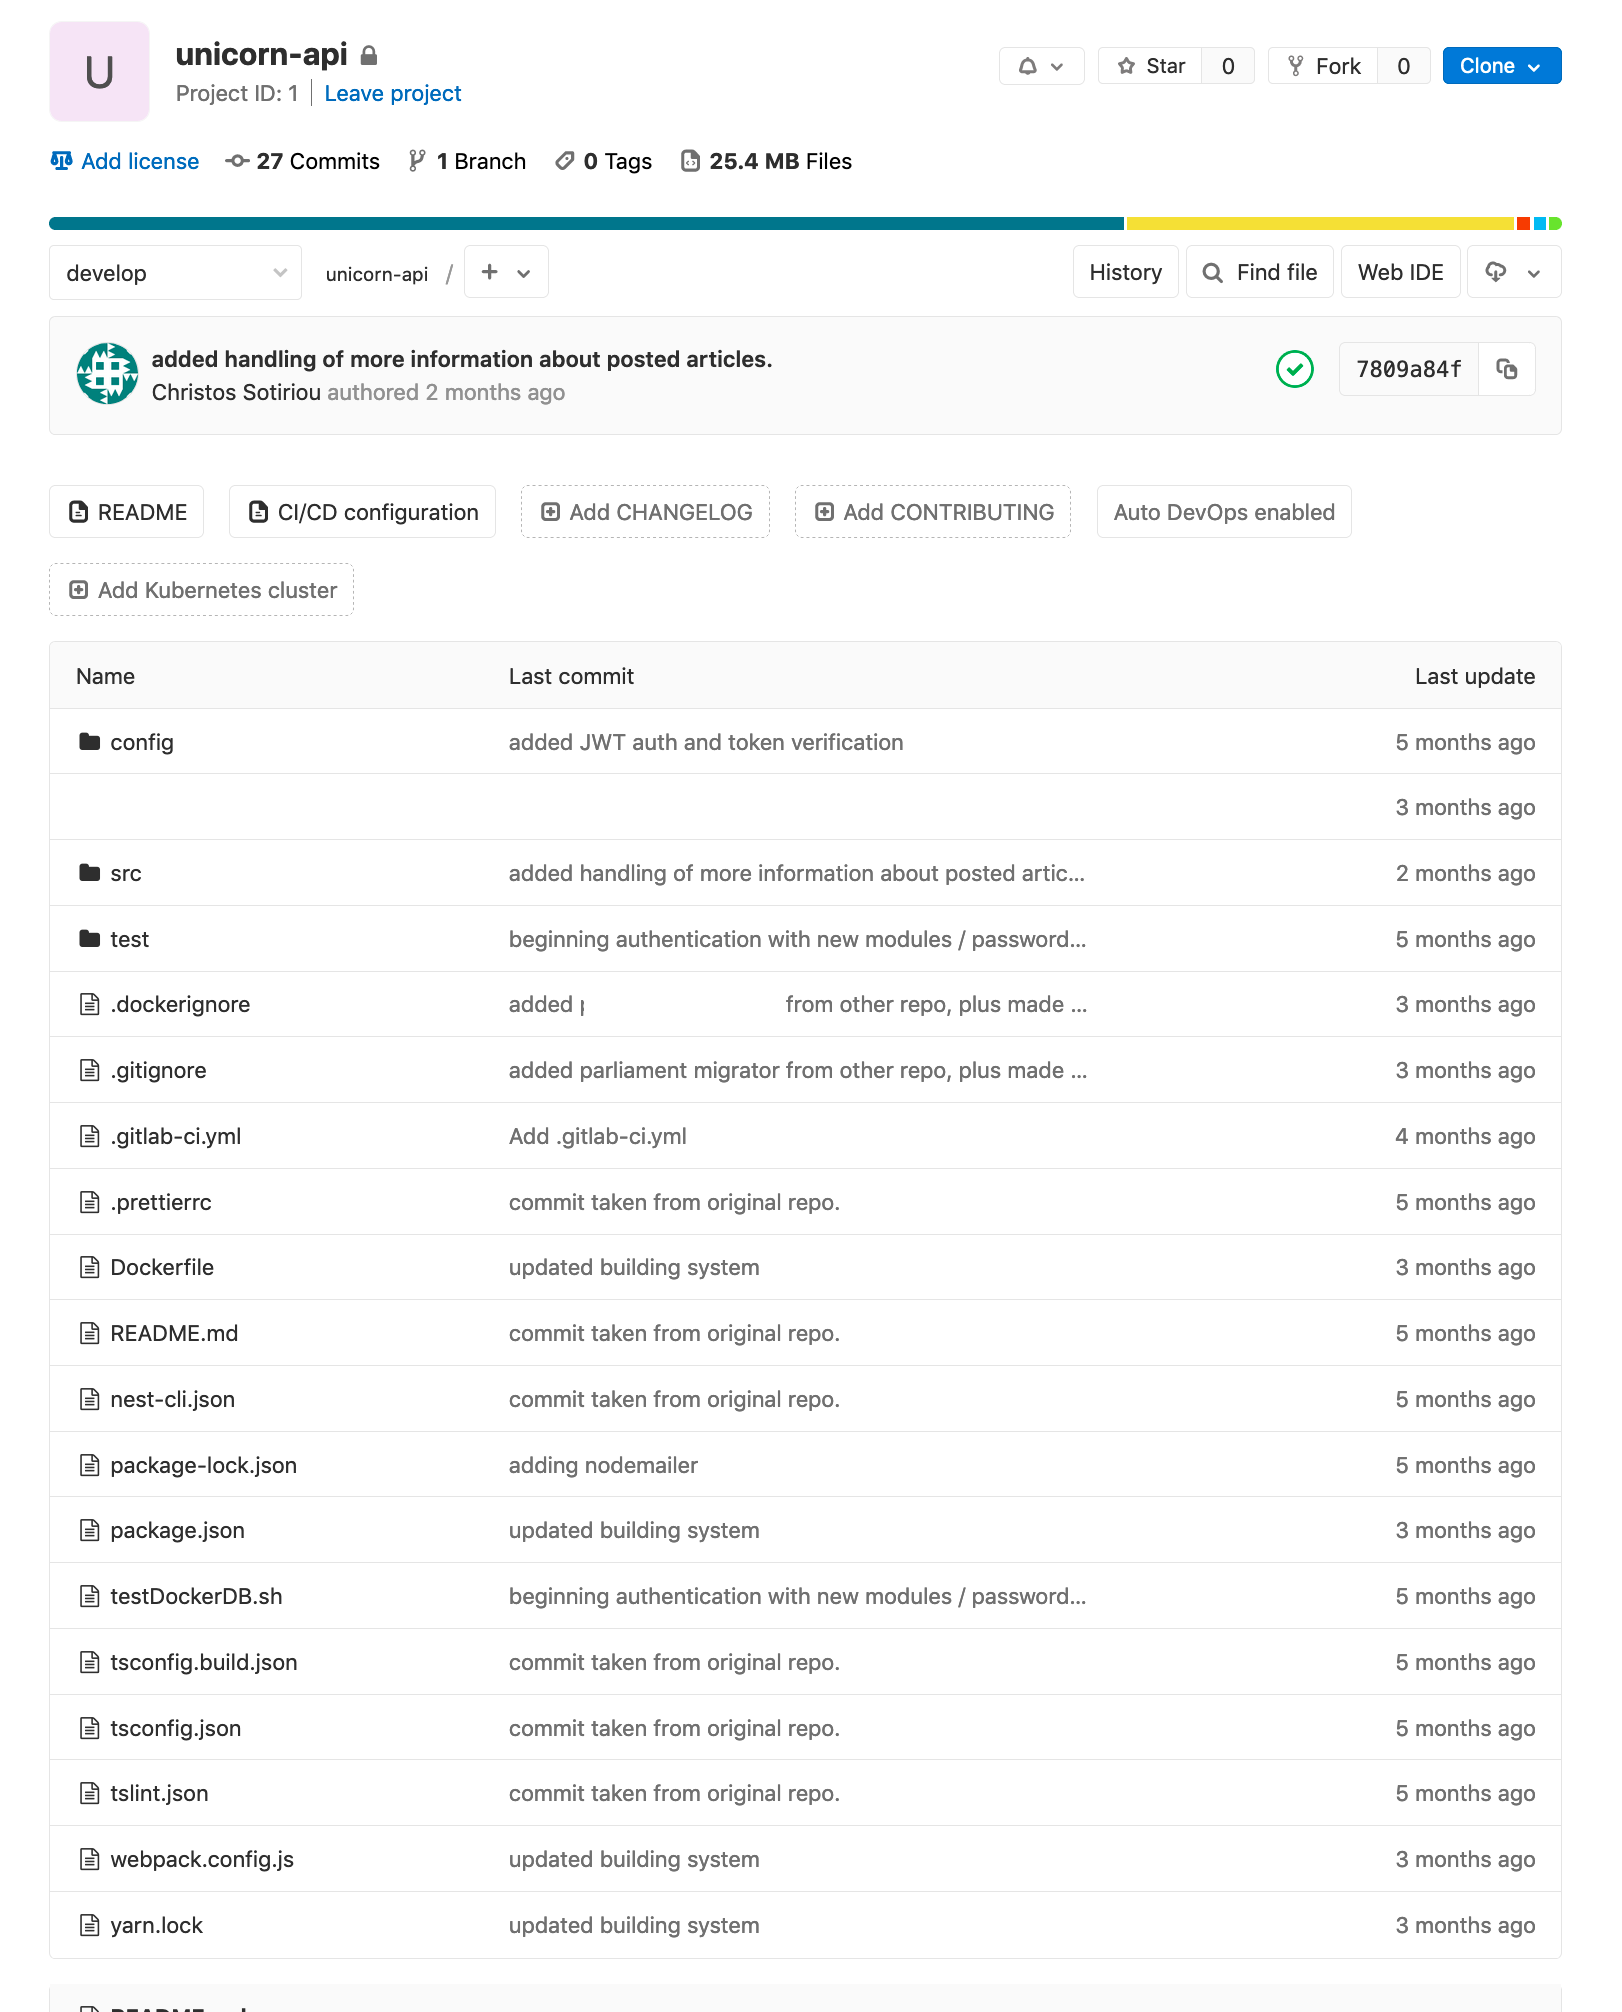
After we finish the initial set up, we create a git repo with a NodeJS application inside (this will not be covered here).
Example application
The following section assumes that we have already set up a git repo inside with a buildable NodeJS application and a valid Dockerfile inside it.
As a sample, we will take a slightly-more-advanced Dockerfile that will build out a NodeJS application. Your Dockerfile may be different, but the process should be the same. The following Dockerfile is stored inside the root of our git repository.
FROM node:10.16
EXPOSE 8080

WORKDIR /app/

COPY . .
COPY package*.json ./

RUN npm install
RUN npm run build
RUN echo "finished building"
RUN ls -afl dist

FROM node:10.16-alpine
WORKDIR /app/

COPY --from=0 /app/dist ./dist
COPY package*.json ./
COPY --from=0 /app/node_modules ./node_modules


ENTRYPOINT NODE_ENV=production npm run start:prod
The above Dockerfile uses node:10.16 to transpile our application. When the build finishes, it produces an image ready to be executed, using 10.16-alpine as the base image. This way, we can have all the required components installed when building (webpack, node-sass, typescript compilation tools), but only a handful when running, which results in a very thin image. This will save much space (more than 1GB per build) when storing it to a docker container registry (this is especially important if one uses a paid docker registry).
Adding runners and setting builds with docker
Now, that we have an installation ready, we need to add "gitlab-runners" and connect them to our GitLab installation. When a GitLab pipeline is run, it searches for an configured runner which is available, and will use it to perform the build. A GitLab runner has many modes it can operate, which represent how the build will be performed. Among other modes, there is support for spawning Kubernetes pods, or Docker containers to perform builds.
For the sake of simplicity, we will use the plain docker mode, which will spawn a new container with an image of your choice (determined by your Dockerfile)
Run the following to your terminal:
docker run -d --name gitlab-runner --restart always \
  -v /srv/gitlab-runner/config:/etc/gitlab-runner \
  -v /var/run/docker.sock:/var/run/docker.sock \
  gitlab/gitlab-runner:latest
The above command will run gitlab-runner as a container. It will also mount the host’s /srv/gitlab-runner/config folder to the /etc/gitlab-runner location of the container. Just as it happens with our main GitLab installation, the configuration of the container will be persistent in our host's folder, meaning that by changing the configuration inside /srv/gitlab-runner/config folder, you can also configure the gitlab-runner container. The configuration will also survive any restarts of your container.
A simple docker ps will reveal the following information if everything went OK.
8c3322fea7d4        gitlab/gitlab-ce:latest                        "/assets/wrapper"        42 hours ago        Up 42 hours (healthy)   0.0.0.0:23->22/tcp, 127.0.0.1:4000->80/tcp, 0.0.0.0:4443->443/tcp   gitlab
48aea5eded7e        gitlab/gitlab-runner:latest                    "/usr/bin/dumb-init …"   5 months ago        Up 5 days                                                                                   gitlab-runner
We now need to use this container to create a new runner configuration for our GitLab installation
Go to "https://mydomain.com/admin/runners"
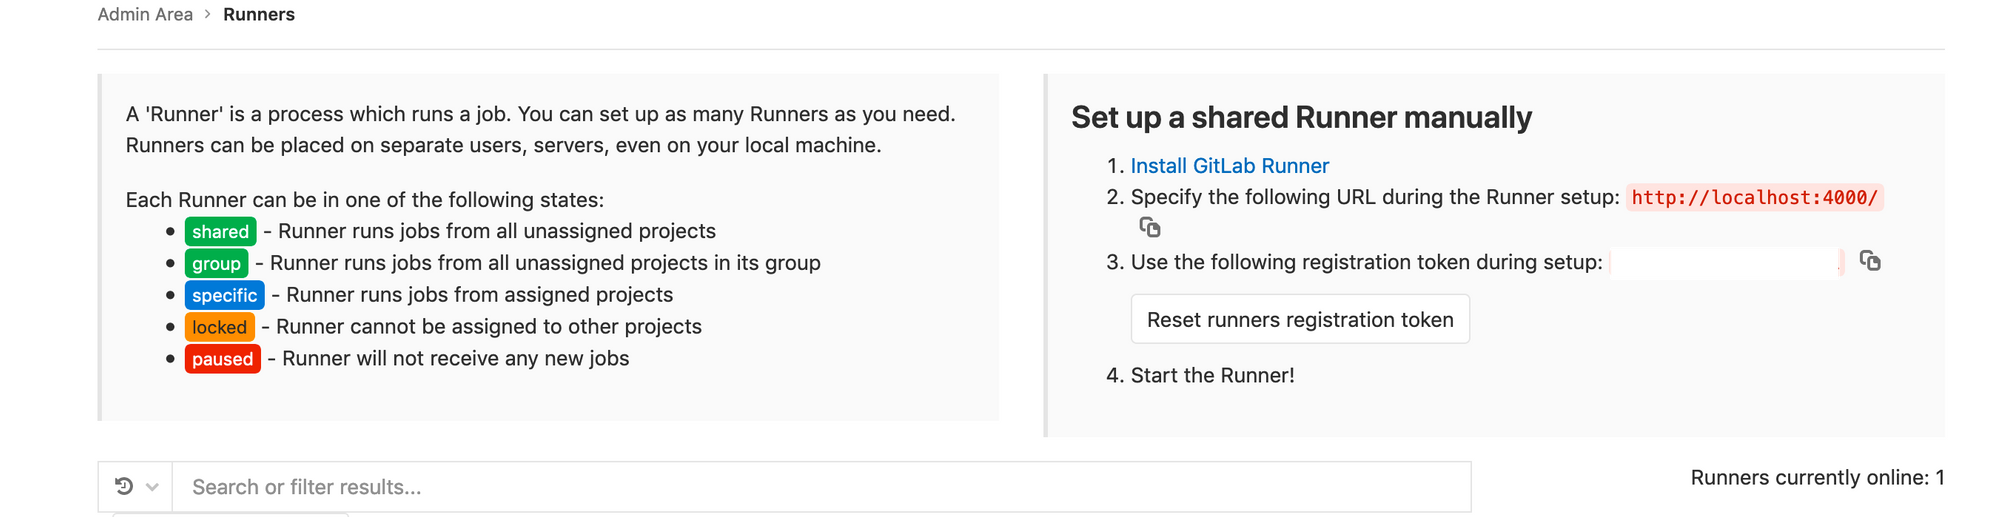
We see that GitLab is saying "Use the following registration token during setup", and provides is with a registration token. This will be used by the gitlab runner to register a new runner configuration. After copying this token, let's setup our runner configuration by using the gitlab-runner configuration we just created. Let's enter the newly created gitlab-runner container via bash.
$ docker exec -ti gitlab-runner bashLet’s set up a new runner configuration via gitlab-runner register. The command line will ask you a few questions on how to set up your runner. We will fill in the required information as follows:
root@48aea5eded7e:/# gitlab-runner register
Runtime platform arch=amd64 os=linux pid=249 revision=a987417a version=12.2.0
Running in system-mode.
Please enter the gitlab-ci coordinator URL (e.g. https://gitlab.com/):
https://mydomain.com
Please enter the gitlab-ci token for this runner:
<<your gitlab ci token here>>
Please enter the gitlab-ci description for this runner:
[48aea5eded7e]: sample-docker-runner
Please enter the gitlab-ci tags for this runner (comma separated):
docker (whatever you need)
Registering runner... succeeded runner=4usxjjv2
Please enter the executor: custom, docker-ssh, parallels, shell, docker+machine, docker, ssh, virtualbox, docker-ssh+machine, kubernetes:
docker
Please enter the default Docker image (e.g. ruby:2.6):
alpine:latest
Runner registered successfully. Feel free to start it, but if it's running already the config should be automatically reloaded!
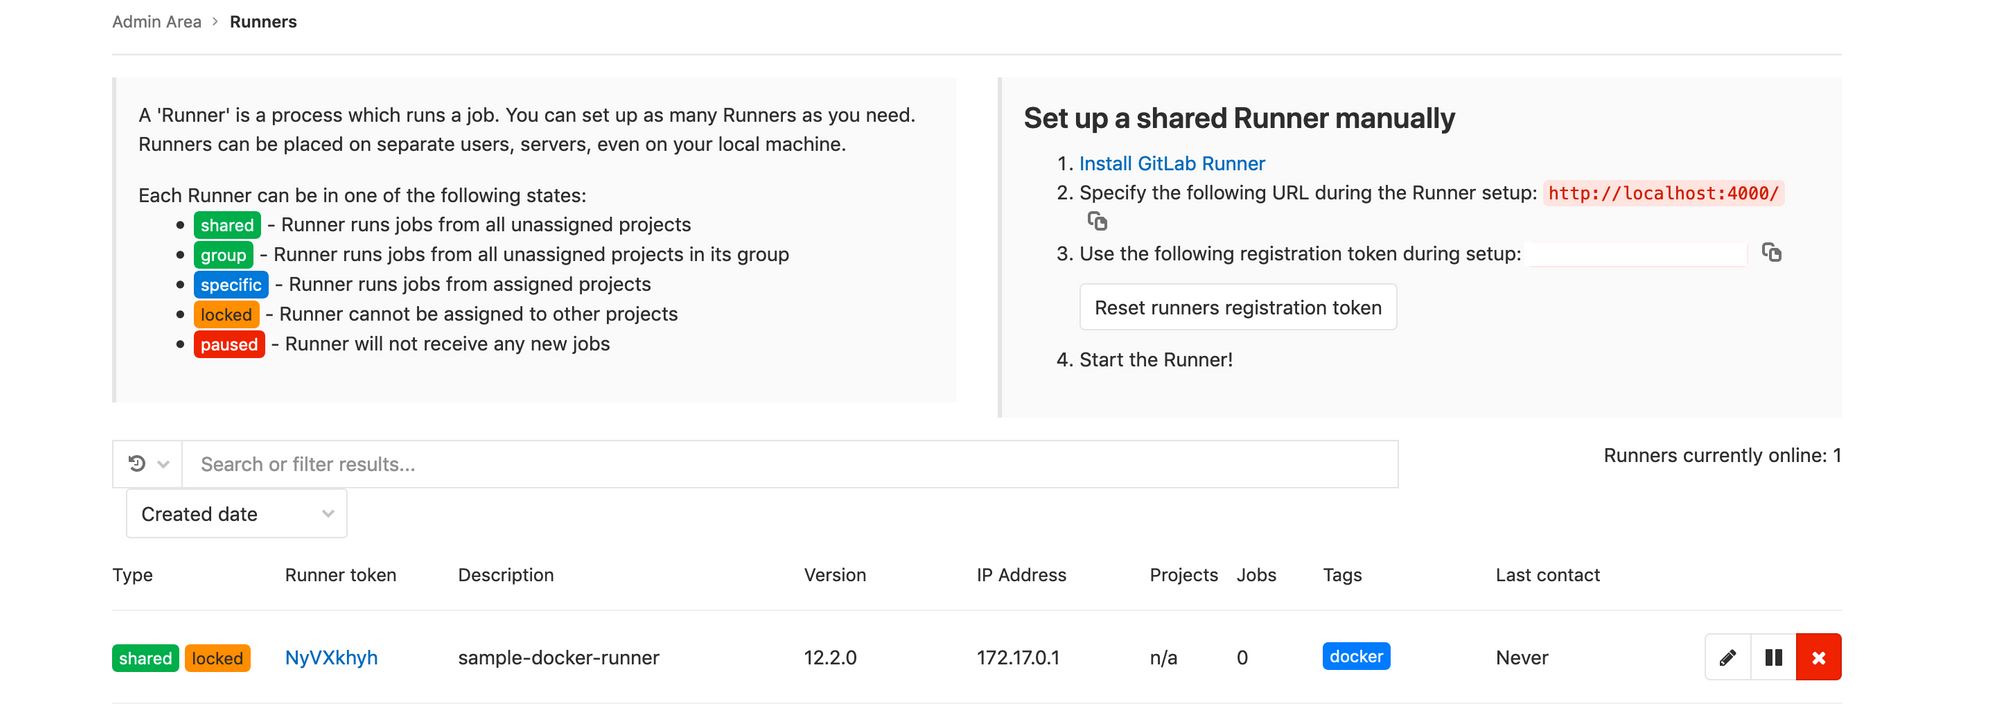
root@48aea5eded7e:/#We can now revisit "https://mydomain.com/admin/runners" and we will be able to see our new runner available in the runners list!
Writing the build steps and triggering the build
The following .gitlab-ci.yml is placed in the root of our git repo.
image: docker:latest

build_job:
  stage: build
  script:
    - ls
    - echo "starting job..."
    - docker build -t "${CI_PROJECT_NAME}:${CI_COMMIT_REF_NAME}-0.1.${CI_JOB_ID}" .
    - echo job finished
  only:
    - develop
    - master
Visit https://mydomain.com/<myproject>/<myrepo>/pipelines and run the pipeline:

When the build finishes, our host docker machine will have a new image created, the one that is build by this pipeline.
Advanced Topics
Connecting gitlab-runner and gitlab containers to the same network
In case you haven't noticed, we provided the gitlab-runner with the full URL of our domain, although our GitLab installation was suggesting to use http://localhost:4000. We did this because the gitlab-runner and the gitlab containers do not reside in the same logical network - thus when calling localhost from inside the gitlab-runner container will result in a "Connection Refused" message.
To fix this, we should tell Docker that those two containers exist on the same logical network.
In our example, we can do this
$ docker network create gitlabnet
$ docker network connect gitlabnet gitlab
$ docker network connect gitlabnet gitlab-runner
Where "gitlab" and "gitlab runner" are the names of the containers as they were named during their creation (using --name=...).
Now, instead of giving https://git.mydomain.com as the root checkout url to the gitlab-runner register command, we can give http://gitlab which is the address the internal DNS of Docker had given.
Avoiding Docker-In-Docker
In our example, we have used image: docker:latest as the base image, as indicated by our .gitlab-ci.yml file. Our Dockerfile uses a NodeJS image, too. That means that you use Docker-In-Docker (dind). This puts a large overhead on your builds. It may not matter in some cases, but if you are limited on resources, you quickly run out of memory when building. There are two solutions to this problem:
The first one is fairly simple, and concerns rewriting your gitlab-ci.yml files so that you are using the image of your choice as the base image, and to perform the full steps there, and not inside an embedded docker. This will remove the burden of the full build from your Dockerfile, as you will probably need it only for the final stage of any build (just copy the built files, and create the image).
If you absolutely want to give your Dockerfile full control, there is another option. You can configure your runner to use the host's docker when executing the Dockerfile commands. You can do that by configuring the gitlab-runner configuration to use the host docker. In our example, the configuration is located at /srv/gitlab-runner/config/config.toml. edit the file, like this:
[[runners]]
  name = "sample-docker-runner"
  url = "https://git.mydomain.com"
  token = "NyVXkhyh1atSm5x_werQ"
  executor = "docker"
  [runners.custom_build_dir]
  [runners.docker]
    tls_verify = false
    image = "alpine:latest"
    privileged = false
    disable_entrypoint_overwrite = false
    oom_kill_disable = false
    disable_cache = false
    volumes = ["/var/run/docker.sock:/var/run/docker.sock", "/cache"]
    shm_size = 0
  [runners.cache]
    [runners.cache.s3]
    [runners.cache.gcs]
Notice that we added the /var/run/docker.sock:/var/run/docker.sock volume mount to the container that would be spawned by gitlab-runner.
Please note, however, that this will expose the host's docker to the container. This poses security risks, and should probably avoided in large-scale GitLab deployments without taking extra precautions.
Where to go from here
Setting up GitLab using Docker has proven to be more versatile than what I had originally thought. I have used this as a basis to setup a development environment that spans across multiple servers for my personal projects.
Here is what I encourage anyone to do after completing the steps in this post.
- Configure SSH checkouts. With this configuration, you should be able to use HTTPS for pulls and pushes. If you want to enable SSL, you will need to expose port 22 from the gitlab container, and perform some more advanced configuration to avoid mixing GitLab's SSL with your host machine's SSL (which would run in the same port by default).
- Use external Docker Container Registries. You can use a free service like canister.io to host your docker images.
- Use an image/container management tool like https://www.portainer.io/ to manage your containers / images on your host machine. That includes your GitLab installation and GitLab runners.
- You can find some really cheap servers just by googling, but I suggest that you consider a host which charges by the hour. This can prove particularly useful if you need a CI/CD environment for pet projects, since you can shut down the machine for the better part of the day and avoid paying for something you don't use.
Setting up GitLab using Docker has proven to be more versatile than what I had originally thought. I have used this as a basis to set up a development environment that spans across multiple servers for my personal projects.
Here is what I encourage anyone to do after completing the steps in this post.
- Configure SSH checkouts. With this configuration, you should be able to use HTTPS for pulls and pushes. If you want to enable SSL, you will need to expose port 22 from the GitLab container and perform some more advanced configuration to avoid mixing GitLab’s SSL with your host machine’s SSL (which would run in the same port by default).
- Use external Docker Container Registries. You can use a free service like canister.io to host your docker images.
- Use an image/container management tool like https://www.portainer.io/ to manage your containers/images on your host machine. That includes your GitLab installation and GitLab runners.
- You can find some really cheap servers just by googling, but I suggest that you consider a host which charges by the hour. This can prove particularly useful if you need a CI/CD environment for pet projects since you can shut down the machine for the better part of the day and avoid paying for something you don’t use.
Conclusion
We have only scratched the surface of that is possible using this configuration as your base. I have personally been amazed so many times with what I can do with just a small VPS Docker/GitLab installed.
I really do hope this article has proven useful to you. I am eager to see your thoughts in the comments!